The Game’s Afoot!
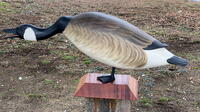
George Strunks antique-style goose is one well-balanced bird.
George Strunk of Glendora, New Jersey, is one of the top carvers working today. His working decoys are superb, and his miniatures are as good as anyone’s, and that includes the great Elmer Crowell. A while ago, George’s friend, carver and master restorer Russ Allen, gave him several iron goose feet. George used the first two feet to make standing ice geese, which he sold. He very graciously agreed to use the final foot to make a feeding ice goose for this demonstration.
Charles Schoenheider is generally acknowledged as the father of ice decoys, carvings meant to perch in a field or frozen lake on a single iron foot. Schoenheider was a nineteenth-century house builder and market hunter from Peoria, Illinois. He felt that posing the decoys on one foot, as opposed to having them sit, gave them greater visibility to incoming flocks.
Schoenheider and his wife had 14 children, which led him to add decoy carving to the things he did to make money. In 1910 he received an order for a dozen ice geese from Daniel W. Voorhees, the president of the nearby Duck Island Preserve. At that time Schoenheider charged his customers $24 for a dozen decoys, typically mallards and pintails. He made the ice geese for Voorhees and sent him a bill for $125.
Voorhees was furious that Schoenheider had raised his price from $2 a bird to almost $10.50 each and he angrily refused the order. We don’t know what Schoenheider felt about the rejection, but we do know he put the goose decoys in his attic, where they sat until his death in 1944. Ultimately, collectors discovered the rig and started buying the geese, one or two at a time, from the family.
In 2018, ore than a century after Voorhees rejected the geese at $10.50 each, the Copley auction house sold one of the Schoenheider ice geese for $204,000. People might think Voorhees was a fool for passing on one of the most valuable decoy rigs ever made. Even at the time, he may have been overreacting. In 1910 the average salary was only $11 a week, so by this measurement every decoy in the rig cost about a week’s pay. These days the average salary in the United States is around $936 a week. The cost for quality goose decoy from a top carver? Well, that’s $1,000, or a little more than a week’s pay. So perhaps Schoenheider wasn’t so out of line after all.
-
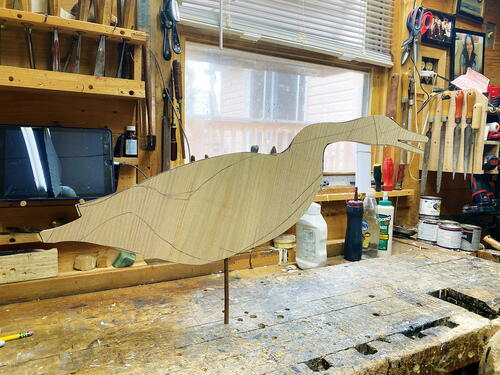
George drew out the pattern on 1/2" plywood and cut it out to see how the scale looked.
-
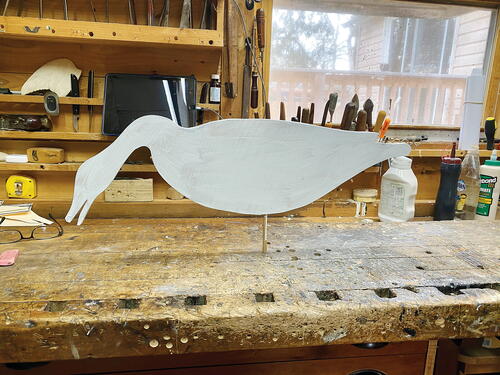
There are five typical poses for goose decoys: feeding, hissing, snuggling (head to chest), sleeping/preening, and sentinel. George decided to carve this goose in a feeding pose. He took the flat plywood model and painted in white Rustoleum to get a better idea of how the pose would look.
-
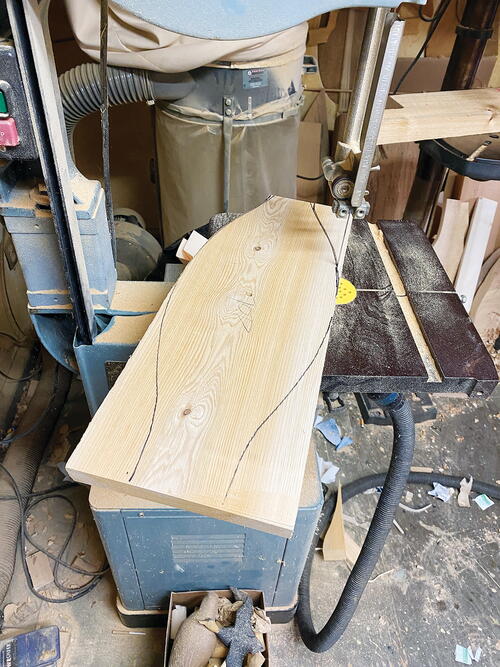
Taking the pattern for the head, George traces in onto a piece of 2" white cedar. He has aligned the grain horizontally, because doing it vertically could cause the head to snap off along the grain. Once the head has been traced, it is now ready to be cut out on the band saw.
-
After cutting out the head, George makes pencil marks to show the centerline and the bill width.
-
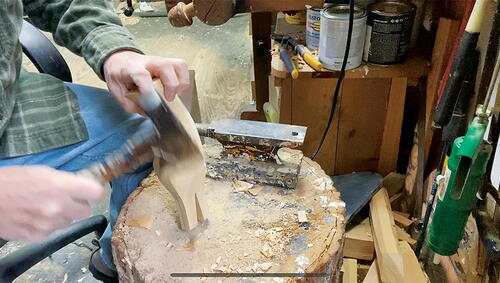
George takes a hatchet and uses short strokes to rough shape the goose’s head.
-
In this shot of the rough-cut head, you can see the initial cheek and bill shaping.
-
George uses a bench stop as an anchor while he continues to carve the head, now with a gouge.
-
Switching to a carving knife, George continues shaping the head.
-
The head is almost ready for bill carving.
-
George finishes shaping the sides of the head with a small spokeshave.
-
To carve the nostrils and do bill detailing, George uses a small gouge.
-
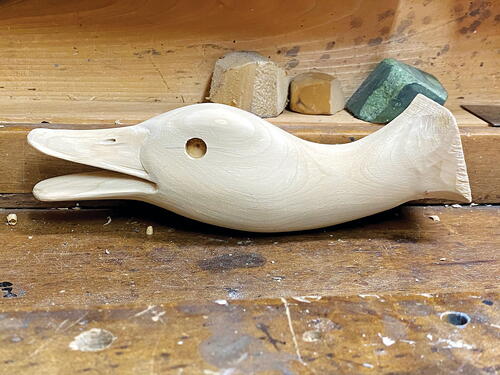
George determines the locations of the eyes and drills 11 mm holes for the 10 mm glass eyes.
-
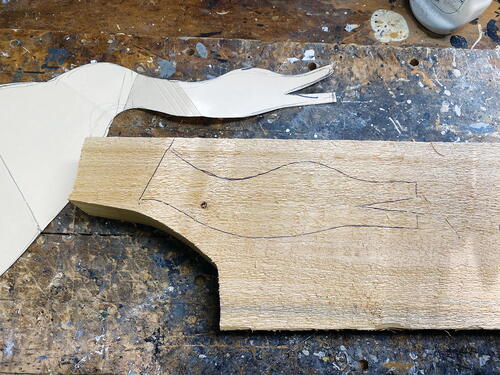
George will construct the goose’s body from three pieces of wood. Here, after tracing the pattern, he cuts out the middle section from a piece of 1/4" cedar.
-
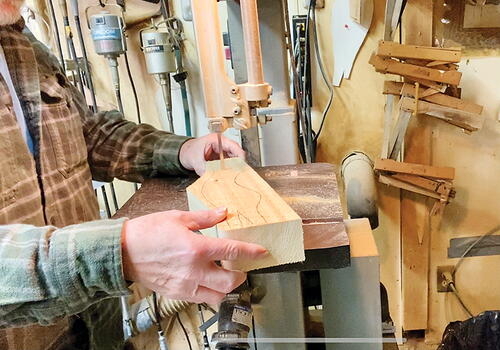
The top and bottom boards are cut from 3" cedar. This is what the three pieces look like coming from the bandsaw. George needs to hollow out the body before permanently assembling it. He temporarily attaches the pieces with screws going up from the bottom. Hot wax would also work.
-
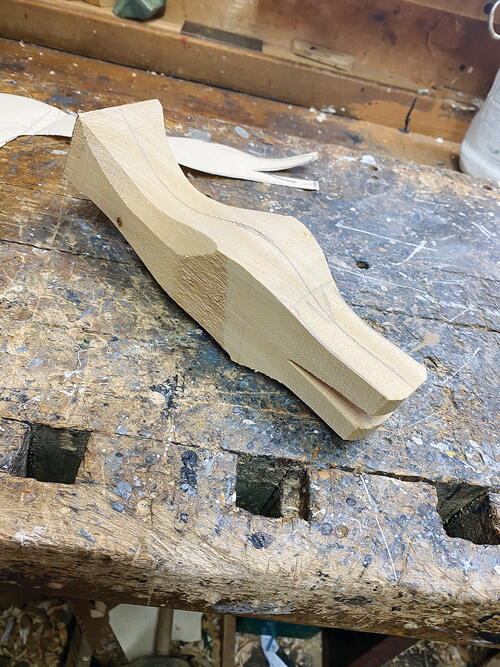
Looking down at the top of the assembled body, you can see how the profile has been cut out.
-
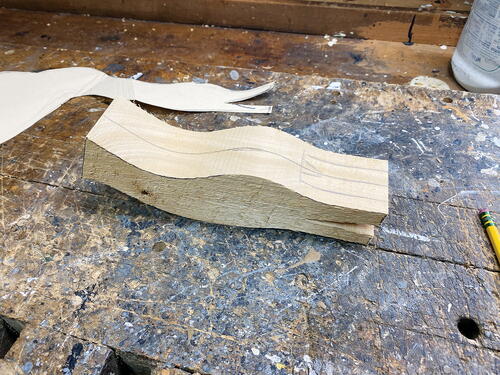
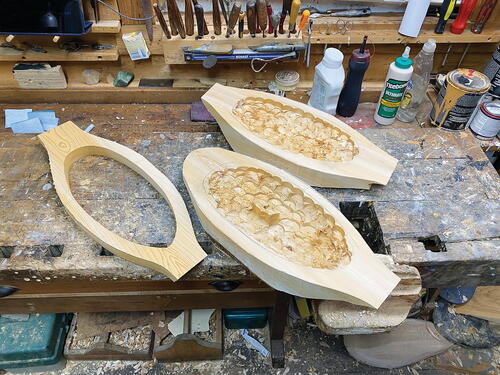
The body has been disassembled. Using the bandsaw, George cuts out the center of the middle board. He uses a drill press and a 1/4" bit to hollow out the top and bottom boards to remove as much wood as possible. You want the decoy to be as light as you can make it.
-
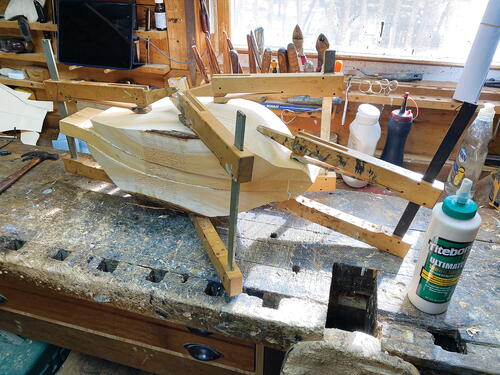
Using Titebond III, George glues the body pieces together and secures them with clamps. He allows a day for the glue to set.
-
George positions the head on the body temporarily to mark its position before he starts to shape the body.
-
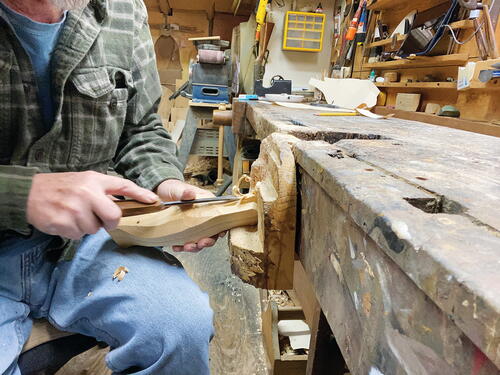
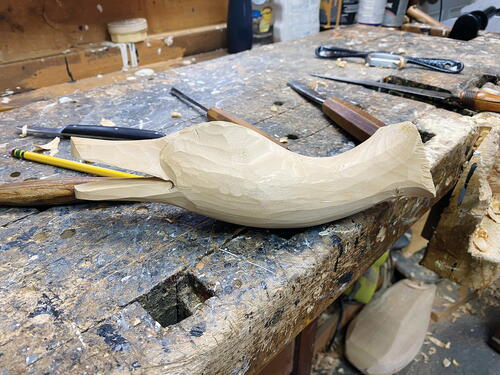
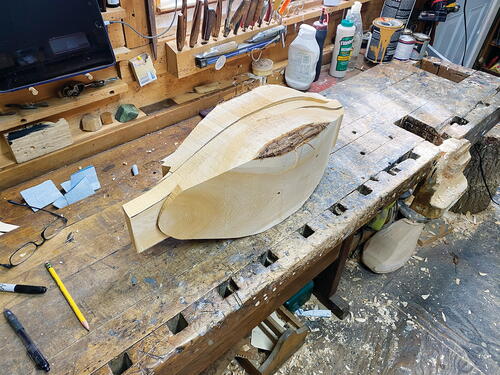
He uses a spokeshave to shape the decoy’s body.
-
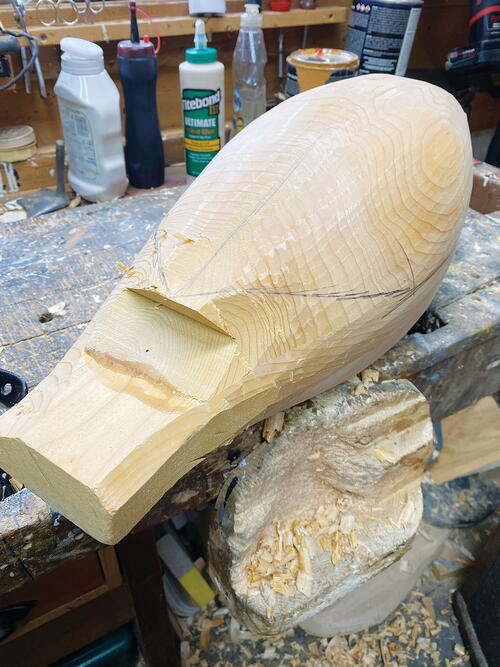
Once the body has been rounded, it’s time to begin detailing the tail.
-
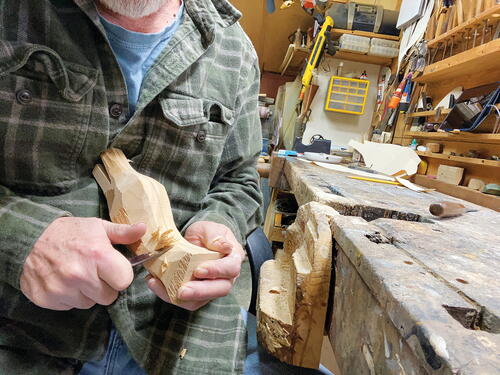
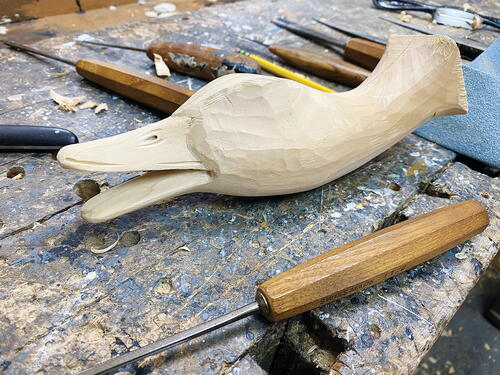
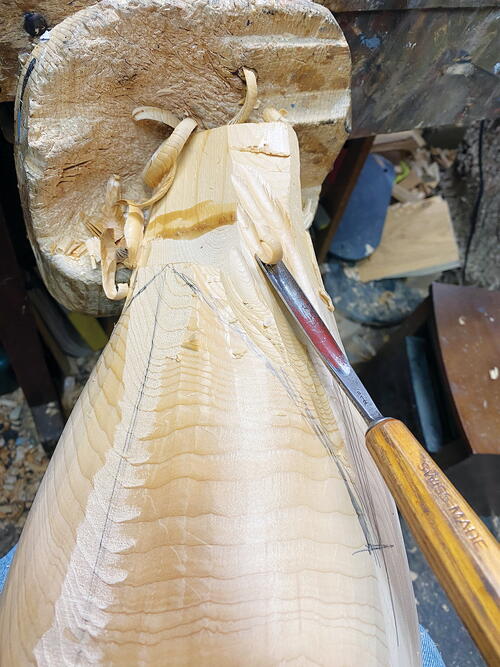
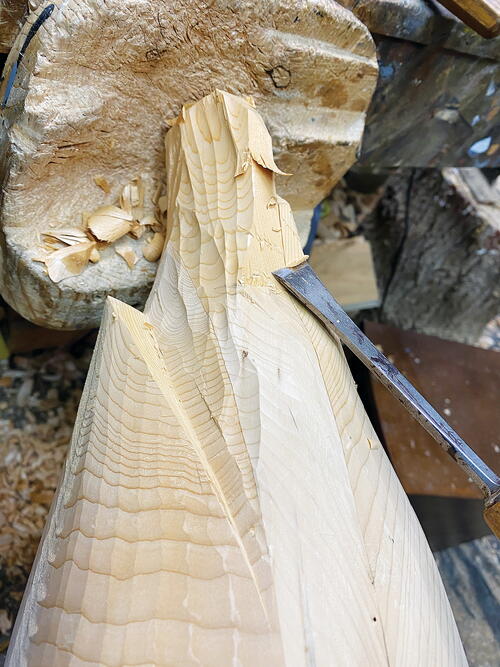
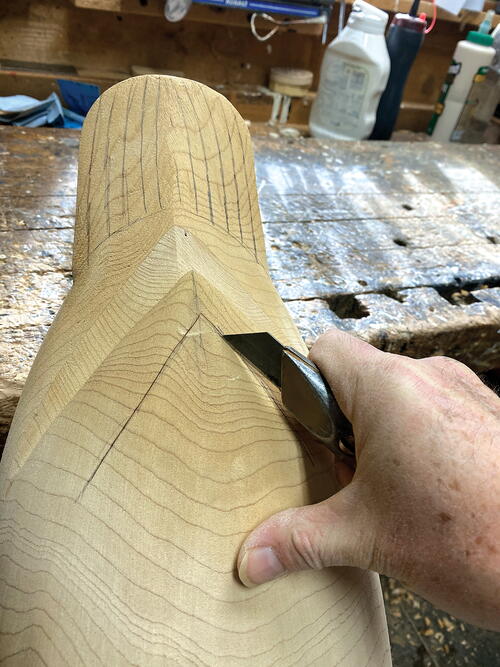
Using a gouge, George carves out the tail and undercuts the primaries, using the bench stop as his carving base.
-
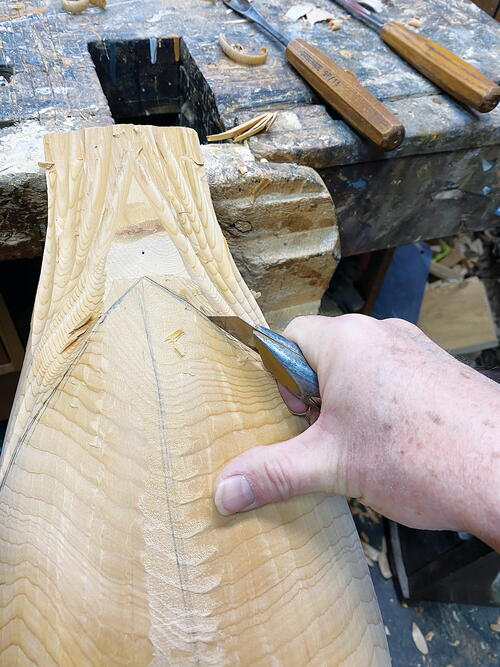
George switches to a utility knife/box cutter to cut in the primary feathers.
-
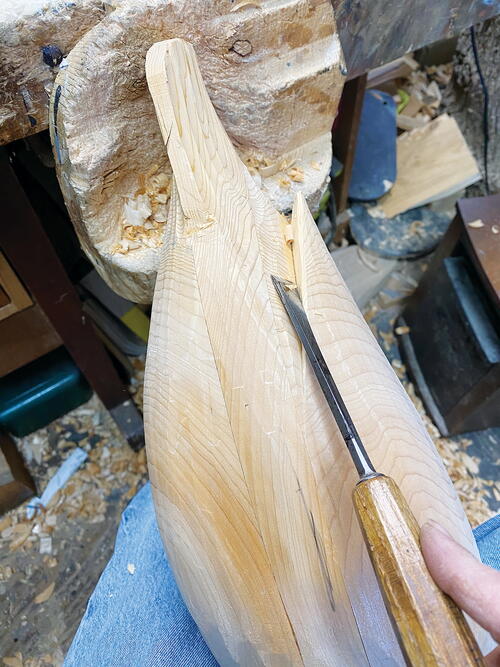
Now using a flat gouge, George continues to undercut and define the sides of the tail.
-
He switches to a wider gouge to further define this area.
-
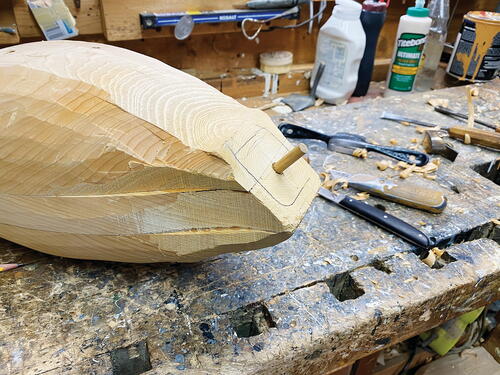
The head will be mounted on a dowel and secured with finishing nails. The body still needs further tapering so it will transition smoothly into the head.
-
Before doing anything permanent, George tries dry fitting the head to the body. Once happy with the fit, he drills a hole in the neck for the dowel, and then secures the head/neck with Titebond III and 1 1/4" brad, 18-gauge nails.
-
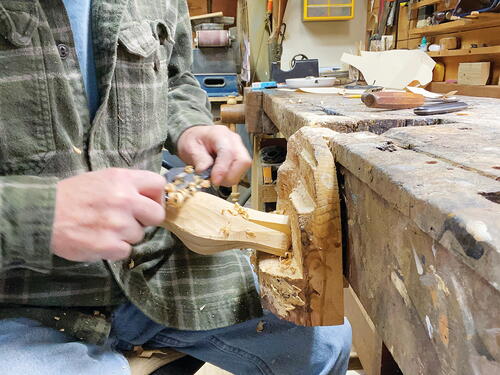
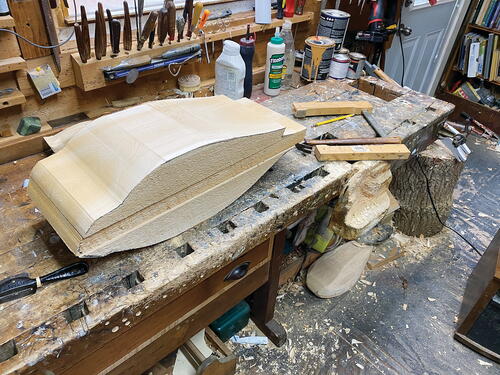
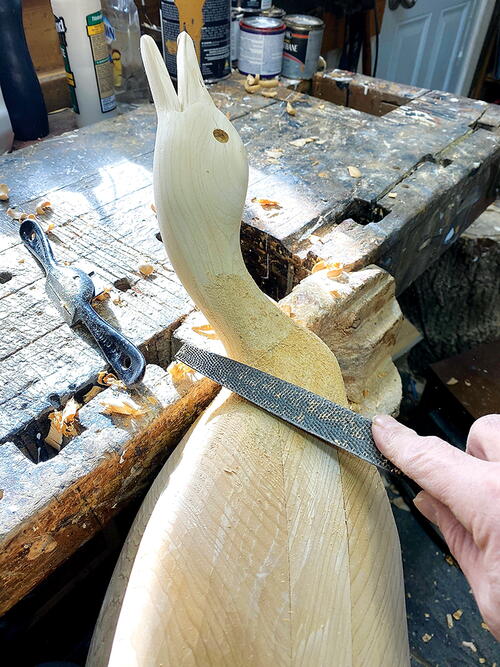
George uses a rasp to smooth the transition from the body to the neck
-
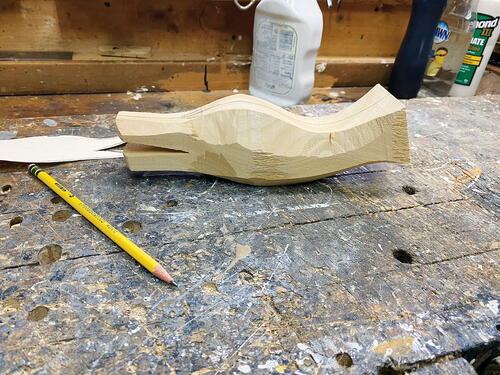
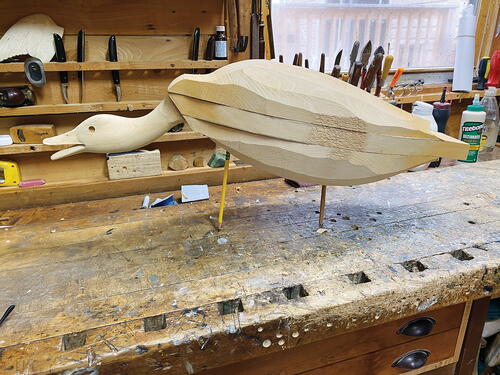
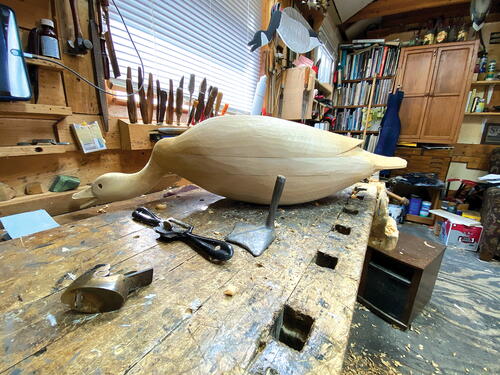
The decoy is assembled and awaiting final sanding and tail carving.
-
It’s back to the utility knife to finish cutting in the primary and tail feathers.
-
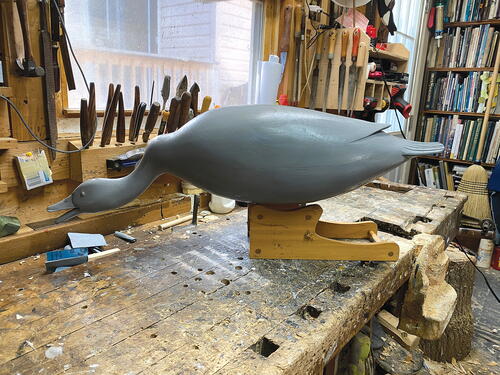
The finished carving gets primed with a mix of white and black Rustoleum.
-
To paint, George uses a variety of tube oil paints. His palette for this project contains raw umber, raw sienna, white, and black. Any good brand of tube oil paint, such as Winsor & Newton, Grumbacher, or Old Holland will work.
-
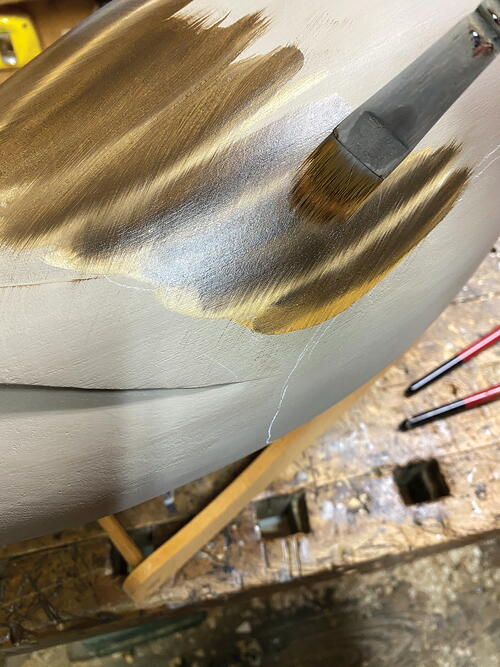
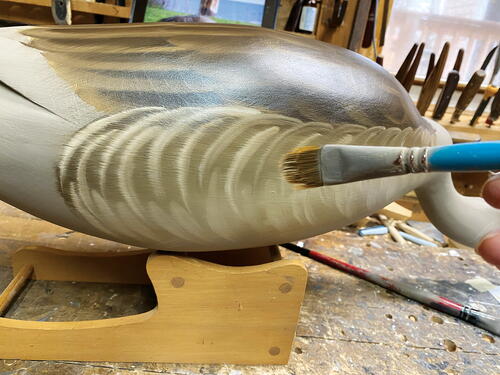
He paints the side pockets with a mixture of raw sienna and white over raw umber, which he then blends with a soft graining brush or a fan brush.
-
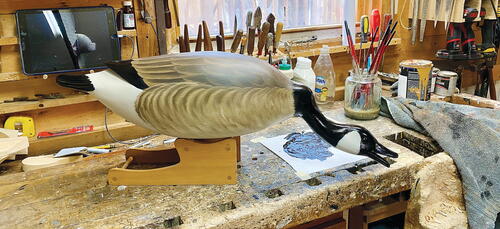
He adds the black and white areas on the goose’s head and tail. He warms the black on the head a little by using a small amount of raw umber.
-
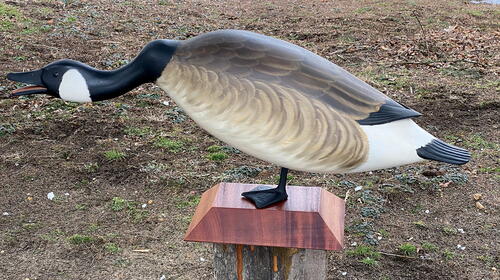
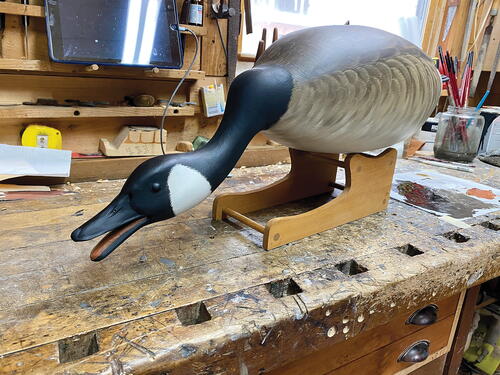
The final step is to add the foot and attach the finished bird to a base with a beveled edge. If you don’t have an iron foot, you can carve one from a hard wood like oak or maple.


Canada Goose By George Strunk © 2021
-
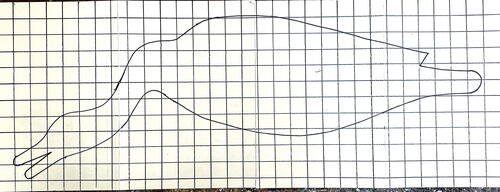
Side view (Each square equals one square inch)
-
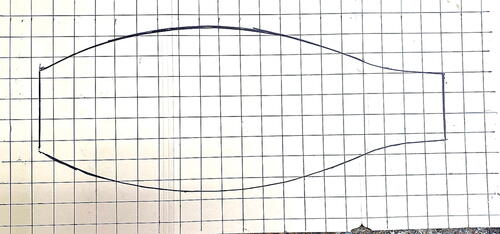
Top view (Each square equals one square inch)
-
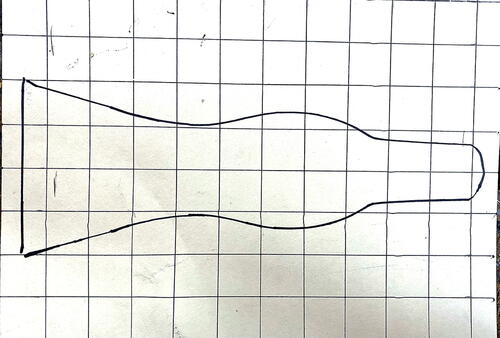
Head top view (Each square equals one square inch)
Rod Taylor retired 12 years ago after a 37- year career in marketing. He has published more than 250 articles on hunting and fishing collectibles. Rod and his extensive collections recently moved to San Clemente, California. He can be reached at rst72badger @gmail.com.
A former iron worker who helped build the casinos of Atlantic City, George Strunk has been carving for nearly 40 years. He is acknowledged as one of the country’s finest decoy makers. In addition to his traditional Delaware River-style decoys, George is renowned for his miniatures, Bellamy-style eagles, and fish plaques.