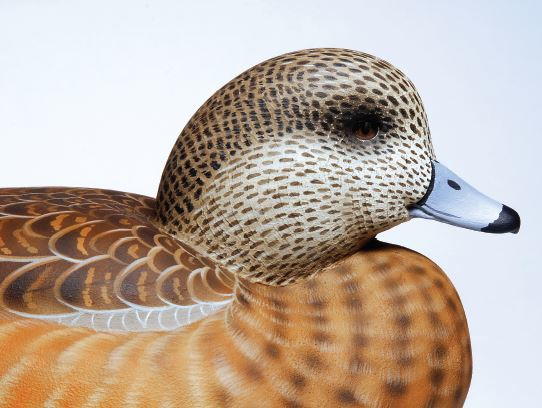
Carve and Paint an American Wigeon Hen, Part Four
All the pieces come together in the final installment of Tom's demonstration.

For the painting, I’ll use the same colors I used when texturing, minus the texturing paste. The closer the colors are to the texturing coat, the better your coverage will be, providing a cleaner end product.
Last issue, I discussed how to texture and prime the decoy. Now, it's time to attack the feather groups and detail. Your objective with any good gunning decoy is to render feathers so that from a distance, the decoy resembles a live bird. Getting the feathers right can be challenging.
I compare making hunting decoys to writing—gunning decoys are like short stories where decorative decoys are novels. When I make any hunting-style decoy, I try to keep the lines simple and clean, and I don't add paint just for the sake of adding more paint or brush strokes. Keep your palette limited and create depth within the colors you have created. With acrylics, try to stay lighter in the beginning because the birds have a tendency to darken as you paint them. During the painting process, step back from your project many times to verify your colors and feather patterns. Keeping the decoy two feet from your face for a long period may give you a narrow view. You expect judges to look at the decoy in the tank from 20 feet away, so you should do the same while painting it. Let's get started!
This article is from the Summer 2010 issue. For more information on our issues, check out our issues page.
Read NextDemonstration: Carver's Block


