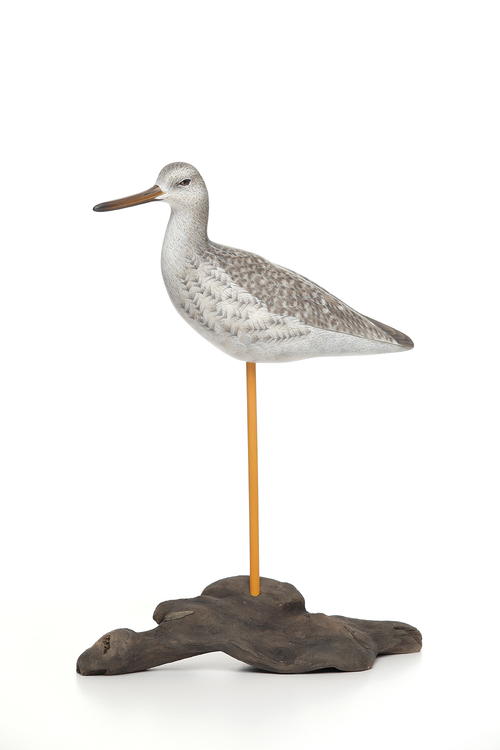
The Greater Yellowlegs--Part Two: Painting
Looking for value? You've come to the right place.

In the last issue we carved and primed a yellowlegs. While the bird in this demonstration is a “smoothie,” I believe many of the techniques are also applicable to lightly textured pieces. I will concentrate on these techniques as much as the overall painting of the bird.
One advantage of acrylic paint is its relative translucency, which you can use to create an illusion of softness and depth. Successive thin coats of the same hue will build up the value of the final piece and still retain a soft appearance, a primary goal for this demonstration. Other than the bill and legs, our bird will be painted with mostly shades of gray. I will mix a basic gray with 60% Jo Sonja raw umber and 40% Liquitex Payne’s gray.
I buy paint I am used to using and because I like the hues. I mix different brands, almost indiscriminately. I prefer Jo Sonja paints for their flatness, but I don’t use some of their hues. For example, I find Jo Sonja’s Payne’s gray, a mix of ultramarine blue and black, to be too blue. The Liquitex Payne’s gray is more to my liking.
For the basic gray I will use, I prefer the 60/40 mix because I can “warm” it up by adding raw umber or “cool” it down with Payne’s gray. I will attempt to achieve many different values by layering successive coats, tinting with white and shading with black, and using the airbrush as well as hand brushes.
I recommend that you use this demonstration as a starting point for your own style. Rather than trying to paint a yellowlegs exactly as I have, concentrate on the various techniques and fold them into your artwork. Your goal should be to develop your own “artistic signature.”
Read NextDemonstration: Carver's Block


